So I have a confession… I used to be a play dough snob. I only ever bought the stuff, that you get in little plastic tubs, that smells strange (I like the smell, I’m weird, I know!) and I had a thing about not being able to make homemade play-dough.
Ridiculous, right?
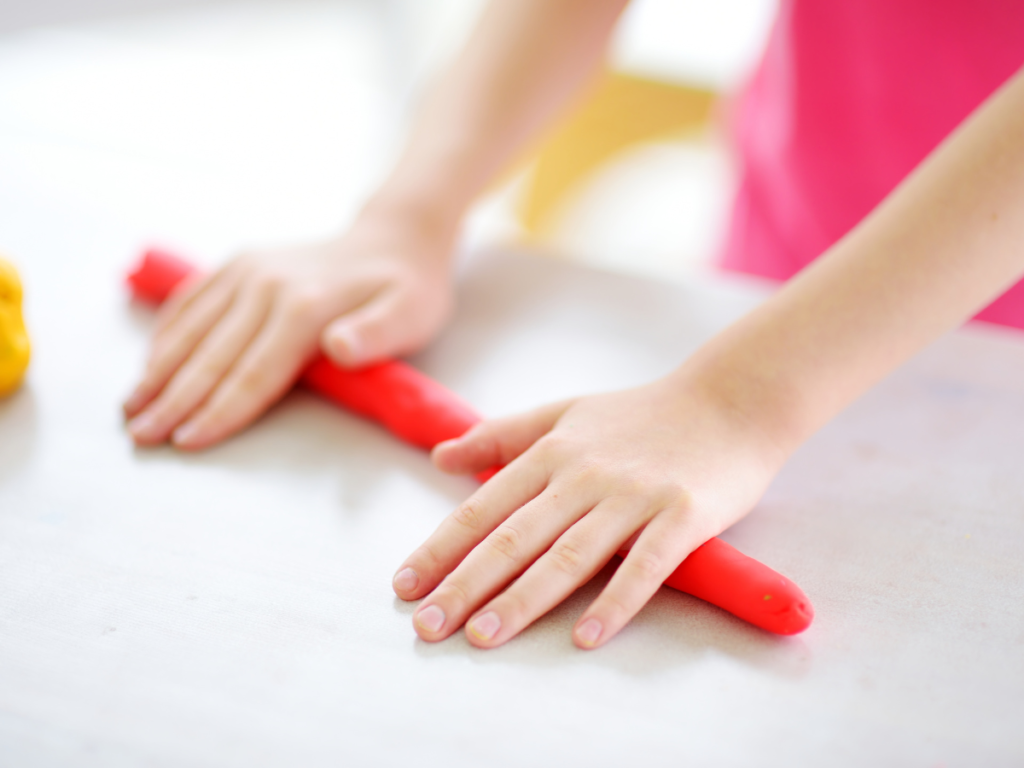
But, in my “other” job, I help to run groups for small children and one of our go-to, easy activities is to pull out the play-dough and cutter/shape box and let them loose with it. They love it, and it’s a perfect activity for small (and grownup hands!) and creative little minds. But shop-bought play dough is expensive and we go through a lot of it. It’s a brilliant activity for children, particularly pre schoolers, although it’s also great for all ages, so don’t let age stop you making batch either.
So I set about trying and testing various recipes I’ve seen on the Internet and finally managed to cobble together my own version, the one that works in big quantities and is easy to make. You can store it for up to three weeks, and it’s basically made from things you have in your cupboard or can get easily, in your grocery shop, cheaply.
You need:
A big plastic mixing bowl
A wooden spoon
Plain flour
Cream of tartar
Salt (a big bag of the cheap stuff)
Food colouring
Vegetable oil
And if you want, glitter.
I know, glitter is the stuff of nightmares for most parents and child care providers, but it really adds to the play-dough, and the kids like it. If you can’t bear the thought, skip it, I won’t be offended!
I make my playdough in the microwave, but you can do the cooking part on a pan on the stove (microwave is less washing up and quicker, I tend to burn it if I use the stove. Burned play-dough does not smell nice, just in case you wondered! ?)
The recipes I found call for “cups” to measure. I just use an average size coffee mug, to be honest, and as long as you use the same mug for all the measuring, it works. It’s not like cake baking. The amounts I use make a double batch of play-dough, you can halve the amounts for a smaller batch.
Four cups of flour, four cups of water. Two cups of salt. Two tablespoons of vegetable oil. Two tsp of cream of tartar.
- Add to bowl and stir roughly to get rid of big lumps. It will resemble a thick batter.
- Then, this is the bit where other people say to wait, but I’ve found it works fine. Add your colour. If you want more than one colour, I guess you can wait, make the dough and knead the colour in, but I’m lazy, so if we want two colours, I divide the dough mix in half into two bowls and then…
- Add colour, and stir to mix it. Adding it before cooking, I think means it’s more evenly distributed. When you are happy with your colour (add as much or as little as you want) you can add glitter if you desire, stir again to make it into a smooth, lump-free mix as possible, then pop it in the microwave.
Timings: on high setting.
- 2 minutes, then stir, (use a wooden spoon, metal spoons get hot as the dough mix heats up)
- 2 minutes then stir again.
- You will notice the dough on the sides of the bowl will start to change and it may peel off, don’t worry, stir it in. It will work, I promise.
- Microwave again 1 minute. Then stir. The playdough mix will be starting to go solid and more like dough and less like batter. Keep doing the 1-minute intervals until you are happy the texture is dough and not sticky or liquid. It will all come together in a firm ball when mixed. How long this takes will depend on your microwave. If you are cooking it on the stove, you just need to keep stirring til it forms the dough, on medium heat, make sure it doesn’t burn.
Dump it out on a clean, dry surface and leave it to cool for at least a few minutes before try to knead it or play with. It will be really hot (I know this from experience, take my word for it, RESIST touching it straight away!)
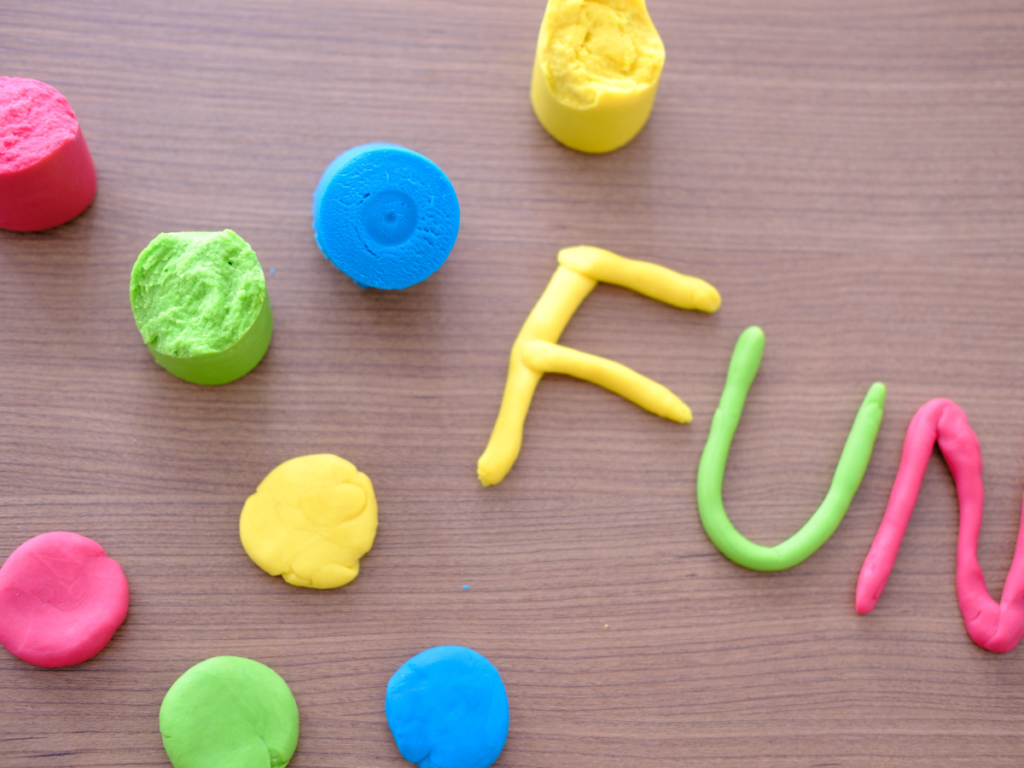
Once it’s cooled, slightly, you can knead it to make sure it’s smooth and ready to be used. (You can also use flavours, to make it smell nice too, if you want. Peppermint, vanilla, and orange are nice, for added sensory stimulation)
Also, this playdough lasts if you store it in an airtight container, for at least two, if not three weeks. Handy to know.
You could also try our cornsilk messy play recipe too…
How much cream of tartar?
I just realised I need to add that. One teaspoon for two cups of flour.
I can’t believe how easy it is to do!