This is part one of my Basic Bread Making series. I will also be sharing about how to make your own simple sour dough starter, a basic sour dough bread loaf, a slicing toast loaf and how to add sour dough starter to other baking recipes to add life, taste and texture.
*This post does contain an affiliate link, which is marked with (AF) so that you know if you click and make a purchase I earn a small amount of revenue*
For me bread and the love of making bread has been a long time in the learning. I love eating well made, homemade, fresh bread in all forms and because I live with a person who cannot eat bread containing gluten, I have not really experimented that much. Because his allergy is not life-threatening and doesn’t cause him a reaction that could land him needing medical treatment, I can experiment at home without worrying about food contamination. So over the last year or two, I have been learning to bake basic sourdough bread and it’s intensely satisfying and also very cathartic. It isn’t that hard but there are some things you do need to learn about ingredients, technique, baking style, gluten activation and how sour dough works to be able to produce a good sour dough loaf. I promise it’s not that scary.

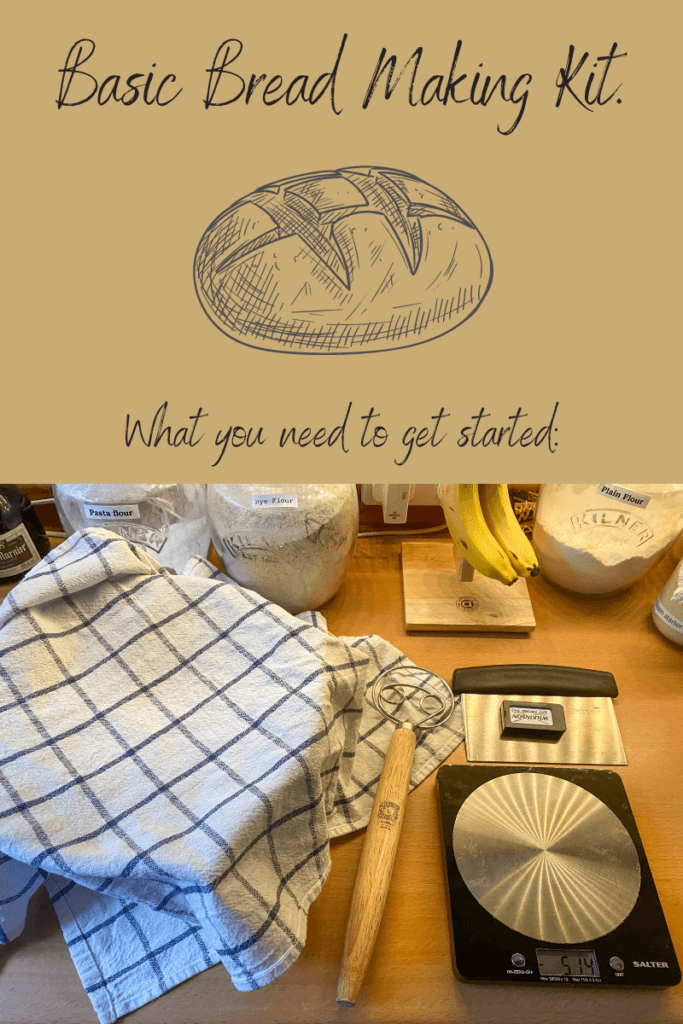
Bread making starts with some basic kit and these are the items that I use.
You can buy fancy kit, and you will see bloggers with expensive scales, and bowls and cloths. I use some of what I already have and added some items as I learned what worked. I asked friends who are more experience than me and I also read blogs and recipes and reviews.
You need:

A set of scales – I use electronic scales for accuracy. You can use mechanical scales if you have them, don’t buy new scales if you don’t need to.
A container – to prove your bread in. Bannetons are the traditional vehicle for proving bread and you can get reasonably priced ones from Etsy or Amazon or cooking shops.
Muslin or linen cloths – for protecting your bread – these can be cheap and don’t have to be fancy.
Razor blades (AF) or a very sharp blade – (and I mean sharp) for slicing and primping your dough
A bread “scraper” – for helping you work with your dough (AF)
A large bowl – for mixing your dough, folding and kneading it and letting it sit – I use a basic stainless steel one, that I have had for years. A solid, heavy bowl works best for when you are folding and turning the bread
A measuring jug – most people have one of these at home
You might want to get:
*These are things that are nice to have but not necessary and are fun as gifts for people to get you
A bread mixing spoon – These are shaped wire type long-handled, strong stirrers which are great for mixing dough but are not essential. They are called Danish Cake Dough mixers. I got mine from Etsy but you also find them in baking shops
A flour shaker – these are handy for when you need to put flour on surfaces for kneading or to add a little flour to your dough but you don’t NEED one.
Once you have all of the bits you need, you then need to focus on your sour dough starter. That is the next post in our series.
If you are not ready to face the challenge of baking sourdough but want crusty fresh bread, then this post shares a recipe that I learned from a fellow blogger that you can use until you feel you are up for the next step and sourdough bread.