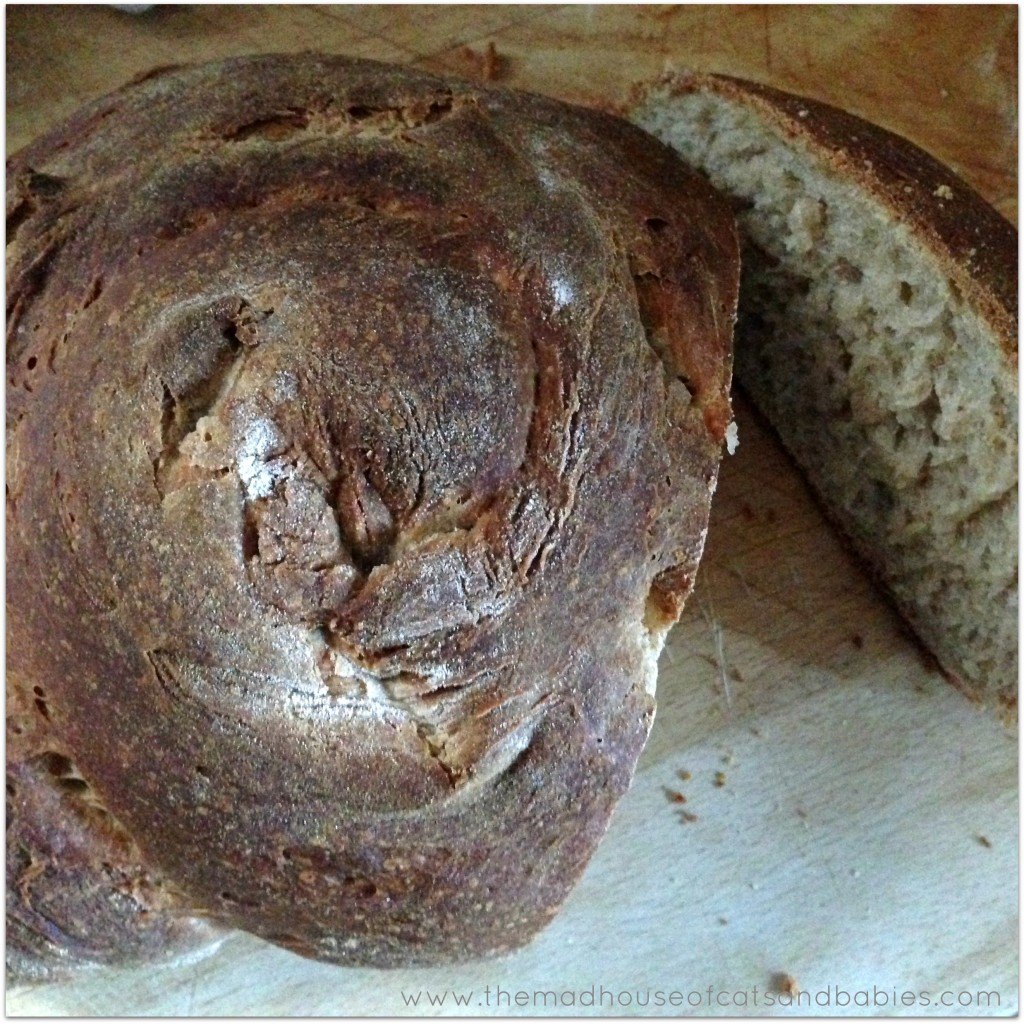
We love making and eating sour dough bread, and I find it cathartic and pleasing to produce loaves for us to enjoy. My kids love baking and bread is something we love to make and an activity that they enjoy and I find makes for a fun time in the kitchen.
Sour dough bread uses a mixture of flour and water that has been left to “fester” as the husband so charmingly puts it, but actually it is fermented, and because it then gives any bread mix it is added to lift, you don’t need yeast. I have a sour dough starter that I have lovingly nurtured, that I use, and feed, and yup, he even has a name (Odo, if you watch older Star Trek series, you may understand this) If you would like to learn about making sour dough starter, this site is very helpful and what I use for my tips and tricks.
We used a basic sour dough recipe
375g/13oz strong white flour, plus extra for dusting
250g/9oz sourdough starter
7.5g salt
130-175ml/4-6fl oz tepid water
30ml olive oil (or you can use butter, but we used oil, so the bread was cows milk free)
Put the dry ingredients and wet into a bowl, and mix with your fingers, like you would with scones, until you have a crumb like texture. Then add the water, slowly, mixing, until the dough starts to become sticky and forming a ball.
Then the fun part. Dump the dough onto a floured surface and get kneading. This was perfect for the kids, in fact, I set the timer, put on some music and let them loose, and I tidied the kitchen, drank a coffee and watched them go at it. Knead, for 20 mins or so, until the dough is smooth and elastic.
Put the dough into a bowl, cover with a tea towel and leave to prove, in a warm place (we use the airing cupboard but you can heat your oven very low, so it’s warm then turn it off and put the bowl in there, as an alternative) for about 2 hours til doubled in size.
Dump the dough out onto a floured surface and punch it back down (again, the kids went to work, I LOVE child labour, although I do also love bread making, so did help a bit with this bit)
Shape the dough into loaves, stick or roll shapes, and place on a lightly oiled tray, and cover again, leave to rise for 90 minutes. They should have doubled in size, again. When they have risen, make slashes on the top with a knife (I don’t know why we do this, maybe to stop the bread exploding, anyone know why? I probably should know!)
Preheat the oven to 200 degrees, and then bake the bread for 25 minutes, turn down the heat to 180 for another 10 minutes.
Remove from oven, leave to cool and eat. It keeps for about 24-36 hours in a bread tin, but it never lasts long in this house, to be honest.
This is a bit of an all day activity, with proving etc, but we did the first part, then went out, came back did the second, and got on with other things, whilst we waited, there was some impatient checking of timers though, so it’s not always a patience inducing recipe, but it’s so easy and fun, for kids, and they can enjoy the results. The bread keeps for about two days but it never lasts that long, to be honest. Warm from the oven, perfect for a snack or toast.
Now I just need to get them to clean the kitchen when they have had fun making a mess baking and I am all set!

This looks fun to make! Thanks for sharing ♥️ ♥️ Interested in doing collabs? xx
Aww thank you for sharing! Will
Definitely try and make it, I love sour dough bread, so tasty! X
Thank you
I will be trying this recipe, I’ve been baking loads since WFH and bread has been on my list. It looks really yummy 😍
I love bread, it is very therapeutic to make!